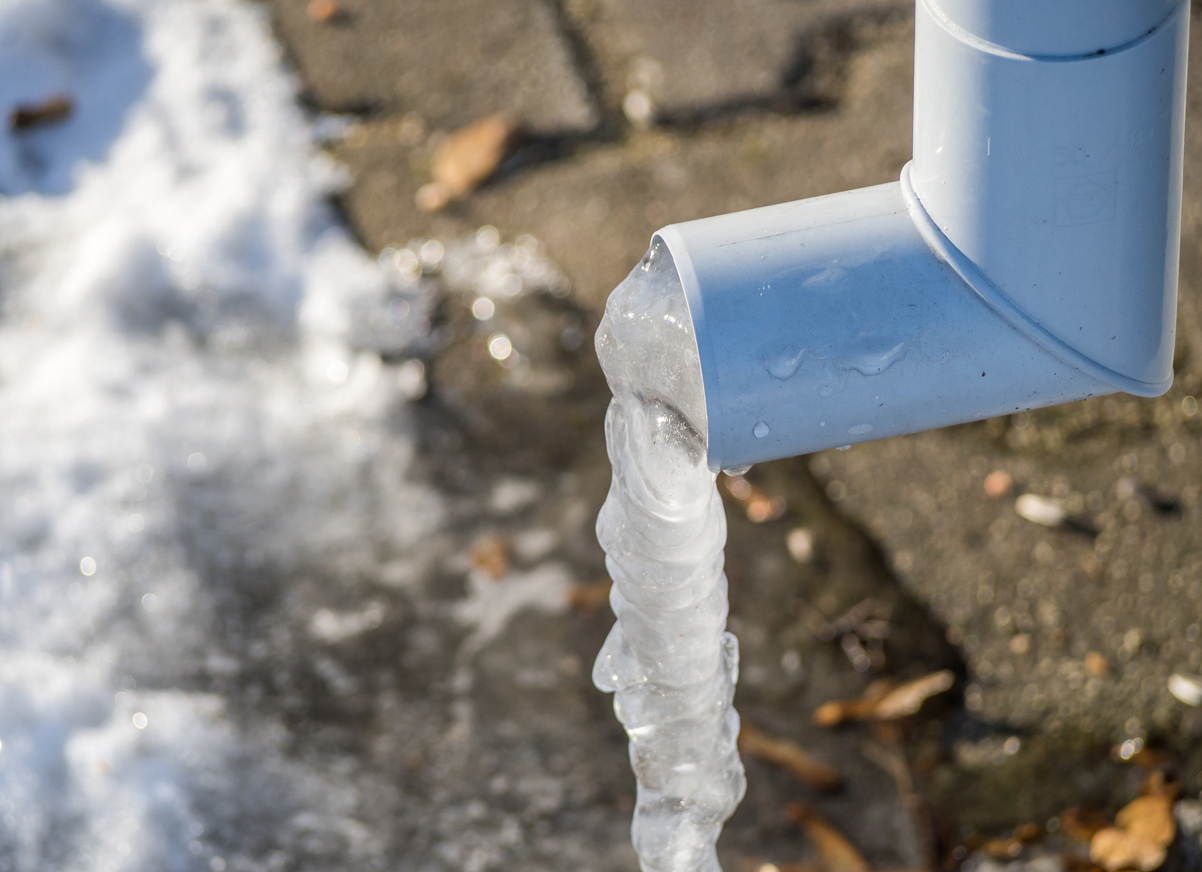
With winter just around the corner, it’s essential to prepare your outdoor plumbing fixtures to withstand freezing temperatures and avoid costly damage. Properly winterizing these fixtures can save you from plumbing emergencies and ensure that your home remains functional during the cold months. Here’s how to effectively winterize your outdoor plumbing fixtures.
1. Disconnect and Drain Hoses
Why It’s Important:
Water left in hoses can freeze, expand, and cause the hose or faucet to crack or burst. To prevent this, it’s crucial to disconnect and drain all outdoor hoses before the temperature drops.
Winterization Steps:
- Remove all hoses from outdoor faucets.
- Drain hoses thoroughly by holding them up and allowing any remaining water to run out.
- Store the hoses in a garage or shed, ensuring they are completely dry before storage.
2. Insulate Outdoor Faucets
Why It’s Important:
Outdoor faucets are particularly vulnerable to freezing. Insulating them helps prevent water in the pipes from freezing and causing damage.
Winterization Steps:
- Use insulated faucet covers designed to protect against freezing temperatures. These can be found at most hardware stores.
- For additional protection, wrap the faucet and any exposed pipes with foam insulation or old towels secured with tape.
3. Shut Off and Drain Irrigation Systems
Why It’s Important:
Sprinkler systems can hold a significant amount of water, which can freeze and cause damage if not properly winterized.
Winterization Steps:
- Locate the shut-off valve for your irrigation system and turn it off.
- Open the system’s drain valves to allow any remaining water to escape.
- For more complex systems, consider hiring a professional for proper blow-out procedures to ensure all water is removed.
4. Seal Cracks and Gaps
Why It’s Important:
Gaps around outdoor plumbing fixtures can allow cold air to penetrate, increasing the risk of freezing.
Winterization Steps:
- Inspect the areas around your outdoor faucets and fixtures for any gaps or cracks.
- Seal any openings with caulk or weather stripping to prevent cold air from reaching your pipes.
5. Check and Repair Any Leaks
Why It’s Important:
Leaks can exacerbate freezing issues and lead to more significant problems during the winter.
Winterization Steps:
- Inspect all outdoor plumbing fixtures for signs of leaks or damage.
- Repair any leaks or issues before the colder weather sets in. If you find significant problems, contact a professional for assistance.
Protecting Your Home This Winter
By taking these steps to winterize your outdoor plumbing fixtures, you can help prevent freezing and damage during the winter months. Preparing your outdoor plumbing is essential to ensuring the overall health of your plumbing system and preventing costly repairs.
Ready to Winterize Your Plumbing?
If you need assistance with winterizing your outdoor plumbing or have questions about any plumbing installations, contact Da Vinci’s Best Plumbing at (971) 220-8685. Our experienced team is here to help you protect your home from winter plumbing issues. For more information about our services, visit our plumbing installation page.
Da Vinci’s Best Plumbing brings top-notch Gresham plumbing, and Portland plumbing services. We also cover the surrounding areas. We handle plumbing repair, plumbing maintenance, plumbing installations, and more with speed and expertise.

